IMPORTANT: Protective film must be peeled off the LED strips before installation. Handle connections gently to avoid damage. Lighting should be fully tested prior to permanent fitting. Consultation with a certified electrician is recommended for safe electrical integration.
- 01
Step 1
Floor assembly is paramount. If your set includes a frame, construct it initially. Otherwise, proceed to the next step.
- 02
Step 2
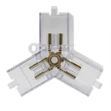
Use the inclusive T-junction for corners that will link to the power grid. Placement for power cabling is detailed within each package’s instructional schematic.
- 03
Step 3
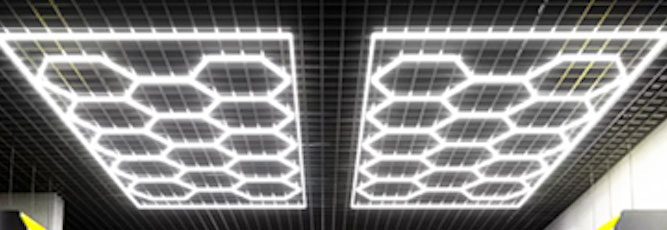
Shape hexagonal patterns by joining LED strips using the elbow and Y-joints provided, crafting the design of your choice.
- 04
Step 4
Install Y-joints externally on the hexagons for eventual power connection, adhering to supply instructions. Power requirements are determined by the number and size of LED strips used.
- 05
Step 5
Ceilings should only welcome fully-tested lighting structures, and expert electrical advisement is suggested.
- 06
Step 6
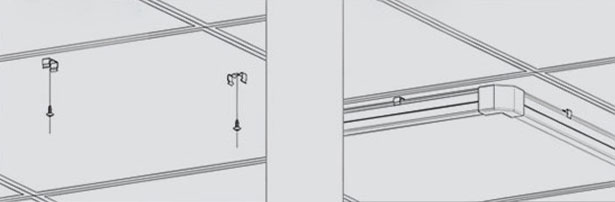
Mounting can be executed either as a single unit or in parts, utilizing preferred methods such as screws, wires, or cable ties. Energize by linking to the installed power supply post-ceiling attachment.
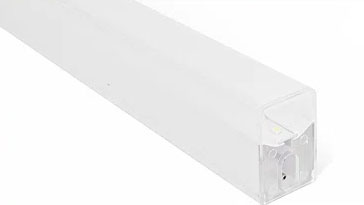
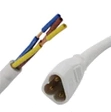
High quality PC materials, insulated and more safe than alternatives that will not cause electric shock.
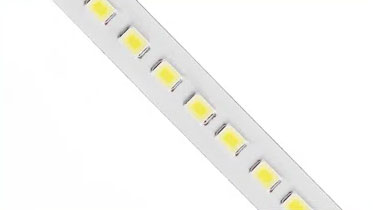
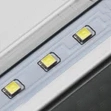
Higher brightness LED chips
High Quality LED Chips, pass LM-80 ,Up to 720W in total, More Brighter Than Others.
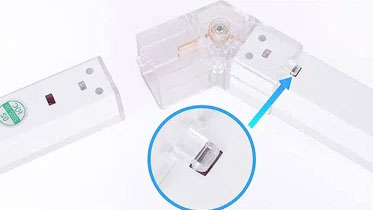
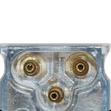
Tight, Stable and Super Safe
Quick Connection & Plug and Play, Longer Plug with Buckle, Hard To Fall Off
WATCH OUR GUIDE
Installation Video
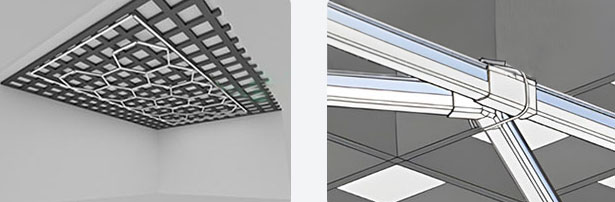
Use cable ties to install to grille, square hanger type station. Secure the connector to the grille or square hanger with a cable tie.
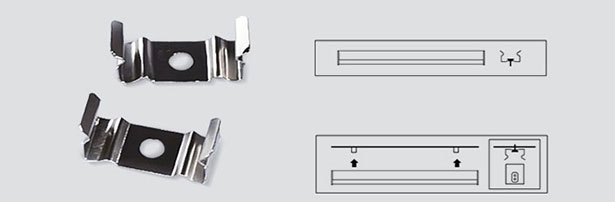
Install with iron fasteners to a position where the ceiling can be fixed with screws. Secure the buckle to the aluminum buckle plate. Attach the product buckle to the buckle.
Use tapping screws to fix the connector clip to a position where the ceiling can be fixed with screws. Step 1: Fasten the buckle with screws. Step 2: Press the lamp into the buckle to fix it.
White light (6500k)
Customize Your Space With Modern Lighting & Achieve Alluring Aesthetics with Hex Lights
Durable connectors for easy installation
3-pin design for increased conductivity
Energy-efficient LED technology
Aviation grade aluminum and polycarbonate
Waterproof rubber casing and built in transformers